 Today, we are sharing our Top 5 Photography Tips For Interior Designers who are seeking to have their interior design work get published in print or online.
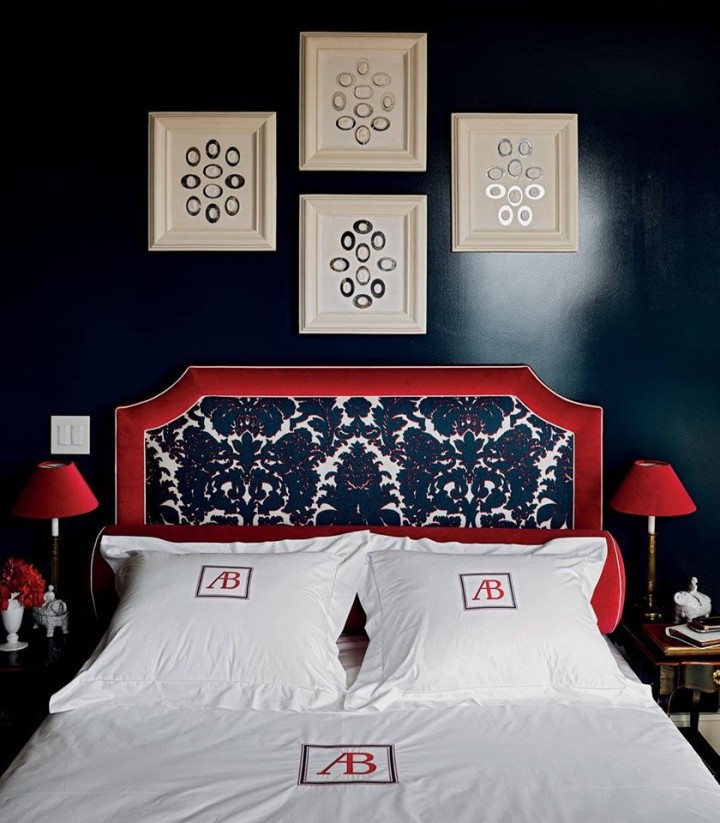
We realize that not all of you that read Hadley Court are interior designers, but we hope these tips + the related images {like the wonderful bedroom by Alessandra Branca above} that illustrate them, might be helpful & inspirational to you, as well!
#GETPUBLISHED TIP #1
 Editors, whether for an online or print publication, often only have space for a horizontal image or a vertical image. To insure you have the best chance of having your interior design work published, have photos taken both horizontally and vertically.
Here’s a strong horizontal image taken by photographer, Sam Oberter. Notice how he captured the ceiling detail? If an editor was planning a feature on * beautiful ceiling details*, and needed an image to open a 2 page print spread, this horizontal shot would have a good chance to get published.
 Here’s a vertical shot by the same photographer. Notice how he just captured the edge of the window treatment? Think about how different this shot would look to an editor if that touch of orange was not in this image.
This image is better for Pinterest, due to its vertical orientation, which is another reason you want your rooms shot both horizontally and vertically.

#GET PUBLISHED TIP #2
 When planning a photo shoot, ask your photographer ahead of time to frame shots that are as symmetrical as possible, and help them understand why you need them.
Although many homes are not symmetrical in their design plan, symmetrical shots are easier to see on small mobile screens.
Because print editors know that their consumer audience is seeing images mostly on their mobile phones today, they will tend towards publishing images that contain symmetry, because these images garner higher click through rates, which benefits their advertisers.
Celebrity interior designer, Tobi Fairley of Tobi Fairley Associates, is known for her strong use of symmetry in her design work and you frequently see her work published.
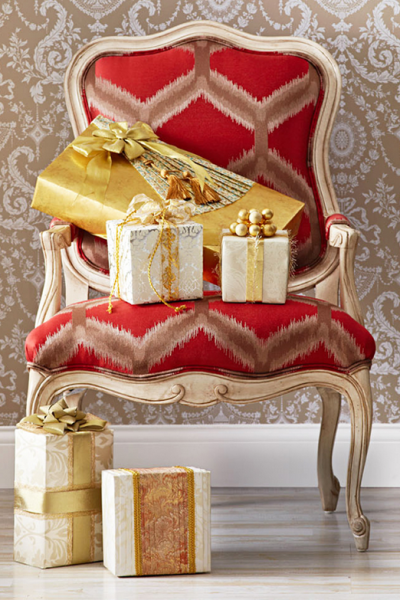
 Major e-commere retailer, Wayfair, showcased this more neutral design of Tobi ‘s on their site, below.

#GETPUBLISHED TIP #3
 Below, you will see why asking your photographer to deliver images to you in these pixel sizes is so important.
Let’s imagine that a design book author is requesting images to get published in a new design book.
You send the author your image in the highest resolution you have available, which when you sent it to her, looked like this.
 When it’s printed, it looks great and you’re thrilled { !! } but it’s not quite as clear as the original, right?
Always let your photographer know you want your images taken with the right lense and then sized and delivered to you in such a way, that, when enlarged for use in a cocktail table sized book, they will still look crystal clear.

#GETPUBLISHED TIP #4
 If you want your work published in a book or on major online sites, secure a written agreement from your photographer stating the usage terms. Ask to own the images for all possible usage scenarios: print, digital, books, etc.
For instance, when we submit an image to www.marthastewart.com of a designer’s work we’re using to illustrate a post [with a link back to that designer’s site], we have to acquire from the designer their written permission agreement from their photographer. We then have to submit that, for each image we use, to www.marthastewart.com, showing that the designer we’re featuring has the legal right to publish that image on Martha Stewart’s site.
Major online sites, whose images are seen by millions, require this.
Secure your written agreements.
#GETPUBLISHED TIP #5
 There is a lot of confusion around dpi [ dots per square inch ] and ppi [ pixels per square inch ].
[ For a very thorough explanation of dpi and ppi, see the post we’ve linked to at the end of this post -it is excellent !]
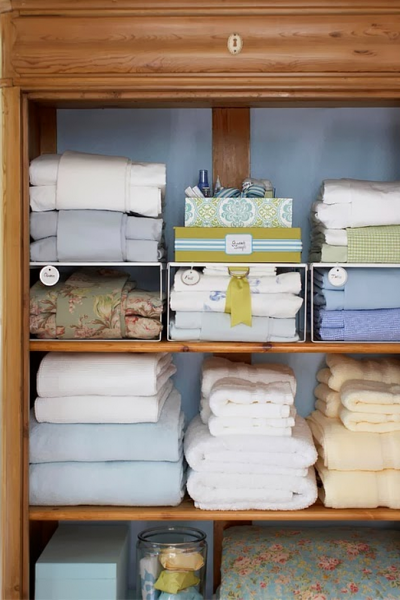
Here’s an example of an artistic close up of a bathroom faucet used in a design by Lauren Schwartz - Muller, the current President of ASID in Los Angeles, to illustrate this point.
Brands appreciate designers who are actively thinking about them in their photo shoots, and are more likely to want to collaborate with designers who understand how to instruct their photographers to showcase their products like this.
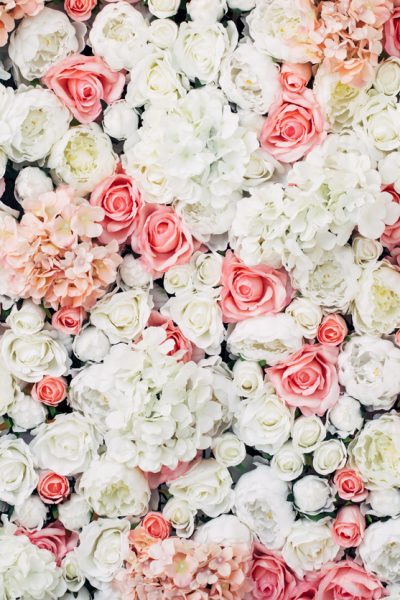
 And lastly, as an *extra credit* tip, have your photographer take close ups of the details that make your design stand out, as Leslie Hendrix Wood did below in this image from her site, http://lesliehendrixwoodinteriors.com
You never know when an editor may be doing a feature on entertaining and want to include a section on * The 5 Best Napkin Rings Now”.
 As always, thank you for reading and subscribing to Hadley Court.
We appreciate you and hope that, whether you’re a fellow interior design professional or a regular reader, that these tips, designed to help you know how to get published, will help you!
We would also like to thank Veronika Miller, the owner of Modenus, John Kelsey of Wilson Kelsey Design, Brandon Smith of The Twenty Six and Lauren Schwartz - Muller, owner of FOUR POINT Design + Construction, for contributing so much to the conversation that led to this post.
We’d love for you to add your favorite photography tips in the comments, too, so students of interior design may use this post as a reference point in the future.
And here is the link to the post on ppi and dpi that explains all you need to know, in detail.
~~~
Leslie Carothers
for
Leslie Hendrix Wood
Leslie Hendrix Wood Interiors
Interior Designer
Midland, Texas
 Owner, the Hadley Court blog
~~~
~ We invite you to please click the links below to follow Hadley Court on our other social channels ~
Facebook
Pinterest
Twitter
Instagram